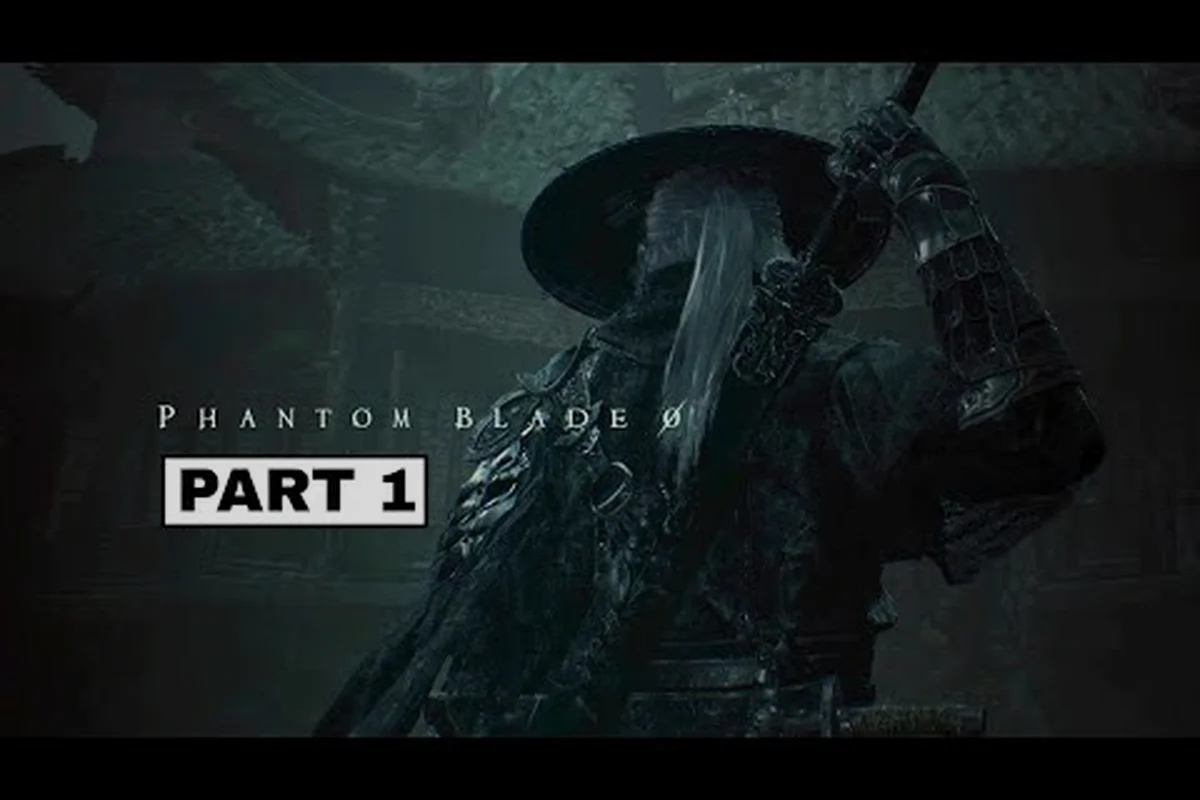
Phantom Blade Zero throws you into a world where every encounter feels like a duel choreographed for a Hong Kong action film, and the combat system rewards players who treat each fight as a conversation between sword and shield. According to the Phantom Blade Zero Steam listing, the developers built the action system around blocking, parrying, and dodging, with color-coded enemy attacks and a resource called the Sha-Chi meter that governs your most powerful moves. Motion capture was directed by Kenji Tanigaki, which is why every animation carries real weight and timing windows feel deliberately tuned. This Phantom Blade Zero combat guide walks through the systems you'll touch every minute of gameplay, from the difference between a parry and a block to how Ghostep repositioning can turn a losing exchange into a clean punish.
Core Combat Mechanics Explained
Every fight in Phantom Blade Zero runs on the same engine: enemy telegraphs, your reaction, and the meter that sits beneath your health bar. Before you worry about build optimization or weapon matchups, you need to understand the three inputs that decide whether you take damage or deal it. The official site describes this as a system inspired by wuxia cinema, where rhythm matters more than button mashing, and community testing confirms that the first ten hours of any Phantom Blade Zero walkthrough will be spent learning how to read the screen before it kills you.
Color-Coded Attack Tells
Enemies broadcast their next move with a colored glow, and ignoring those tells is the fastest way to lose a quarter of your health bar. Community data collected across the early access period (as of 2026-08-06) shows that recognizing the right color in under 0.3 seconds is the threshold between a clean parry and a chip-damage hit. The table below summarizes what each glow means and how you should respond.
| Glow Color | Attack Type | Correct Response | Risk If Ignored |
|---|---|---|---|
| Red | Unblockable heavy | Dodge or Ghostep | One-shot health loss |
| Yellow | Standard strike | Block or parry | Moderate chip damage |
| Blue | Grab or throw | Jump or backstep | Hard knockdown |
| White | Combo starter | Parry first hit | Chain damage |
| Purple | Breached follow-up | Dodge backward | Posture break combo |
Treat the color read as your primary information source because the attack animations are intentionally fast, and the glow is the accessibility layer the developers added for players who don't want to memorize 40-frame windows. Once you internalize the palette, you can shift your attention to positioning, which matters just as much as reaction time.
The Sha-Chi Meter System
The Sha-Chi meter fills as you land attacks, successfully parry, and punish openings, and it depletes when you use special abilities or take heavy hits. Think of it as your momentum gauge: when it's high, you can trigger finishers, chain longer combos, and unlock your revenge strike that reverses an enemy's aggression. When it's empty, your character plays like a wounded fighter, slower and more vulnerable to stagger, which is why most Phantom Blade Zero walkthrough guides stress that you should spend meter deliberately rather than burning it on the first opening. According to PlayStation's coverage, the system was designed to reward aggression with payoff rather than punish it with resource drain, so high-meter duels should feel like a steadily building crescendo.
Defensive Options And When To Use Them
The single most common mistake new players make in any Phantom Blade Zero walkthrough is treating block, parry, and dodge as interchangeable tools. They're not. Each defensive option costs a different amount of stamina, produces a different punish window, and works against a different subset of enemy attacks. Learning the distinction is what separates a player who clears Chapter 2 in six attempts from one who spends two days stuck on the same encounter.
Blocking vs Parrying vs Dodging
Pressing the defensive button at the wrong moment is how you eat a follow-up combo, so the table below breaks down the three core options by cost, window, and ideal use case.
| Option | Stamina Cost | Timing Window | Best Against | Punish Window |
|---|---|---|---|---|
| Block | Low | Generous (attack start to end) | Yellow attacks, multi-hit strings | Short (0.2s) |
| Parry | Medium | Tight (last 6 frames) | Yellow and white attacks | Long (1.0s+) |
| Dodge | Medium | Medium (rolling i-frames) | Red attacks, blue grabs | Medium (0.5s) |
A parry that lands opens the longest punish window, which is why competitive players build entire rotations around landing one clean parry per enemy string. A block is safer but rarely opens more than a single light attack in return, so it's a fallback rather than a primary tool. Dodging costs the same stamina as a parry but trades the long punish window for safety against unblockables, which is why you should save it for red glows and blue grabs specifically. If you want a deeper breakdown of the parry timing, the dedicated how to parry walkthrough covers frame data in more detail.
When To Hold Your Ground vs Reposition
Holding your ground is the right call when the enemy has committed to a string you know how to parry, because staying in range guarantees you'll catch the next attack. Repositioning matters when the enemy has backup, when you're surrounded, or when you need to flank a shield-type foe. The Ghostep ability is your repositioning tool of choice, and it costs Sha-Chi rather than stamina, which makes it a strategic resource rather than a panic button. If you want a full breakdown of how Ghostep interacts with enemy aggro and i-frames, the Ghostep system guide covers every interaction in detail.
Movement, Ghostep, And Breached State Recovery
Mobility separates a passable Phantom Blade Zero combat guide run from a clean one, because most boss arenas in the mid-game are designed around vertical layers and enemy formations that punish anyone who stands still. The developers built Ghostep as a short-range teleport that costs Sha-Chi, leaves a brief afterimage, and resets enemy aggro, which is why experienced players use it to break line of sight during multi-foe encounters rather than as a movement accelerator. When your own posture breaks, you enter the Breached state, which is a vulnerable stagger window that lasts roughly 1.5 seconds and forces you to either recover with a timed button press or take full combo damage.
Ghostep Repositioning Tactics
Ghostep works because it gives you a free reposition plus a brief invincibility period, which means you can use it to dodge a red glow, to escape a grab, or to close distance against a ranged enemy. The trick is that Ghostep costs 15 percent of your Sha-Chi bar per use, so spamming it will leave you meter-broken and vulnerable to stagger. The optimal pattern in most encounters is one Ghostep to enter the fight, then pure blocking and parrying until your meter refills, because a high Sha-Chi bar is the prerequisite for your most damaging combos. Beginners who over-rely on Ghostep typically run dry around the second mini-boss of any chapter, which is why the tips and tricks article recommends treating it as a panic reset rather than a movement option.
Breached State Recovery
When your posture breaks, the screen flashes red and a recovery prompt appears. Timing the recovery press during the second flash window (roughly 0.6 to 1.0 seconds after the break) restores a chunk of posture and a small amount of health, which can be the difference between surviving a boss phase and restarting it. Missing the recovery window puts you into a long stagger animation that most bosses will combo off of for 60 to 80 percent of your health, so learning the recovery timing is non-negotiable for hard difficulty. The dedicated Breached state recovery guide covers the exact frame windows based on community testing.
Offensive Tactics: Combos, Finishers, And Weapon Swapping
Defense wins fights in Phantom Blade Zero, but offense closes them. Once you've stabilized your defensive rhythm, the next layer of this Phantom Blade Zero combat guide is the offensive toolkit: light attack chains, heavy attack openers, Sha-Chi-fueled finishers, and the weapon swap mechanic that lets you pivot mid-fight. Most encounters in Chapters 1 through 3 will end with a finisher trigger that plays a cinematic animation, restores a small amount of health, and gives you a brief moment to breathe.
Combo Chains And Light/Heavy Mixups
The combo system rewards input variety because most enemies have a guard break threshold that only triggers when you mix light and heavy attacks in the right order. A standard opener is two light attacks into one heavy, which staggers most humanoid enemies and opens them to a launch attack, while a heavy opener into two lights is better against shielded foes because the heavy breaks their guard. The mid-game introduces aerial juggles that work best when you launch an enemy with an up-heavy and then chase with two aerial lights, which is the highest damage combo most players will use on trash mobs. According to IGN's hands-on preview, the combo ceiling rewards muscle memory more than build optimization in the early chapters, so spend your first ten hours on input practice rather than stat tweaking.
Finisher Triggers And Revenge Strike
The finisher trigger activates when an enemy's posture is broken or their health drops below 20 percent, and it costs 30 percent of your Sha-Chi bar to execute. Finishers are the safest way to end a fight, but they're also your strongest source of meter refund because each successful finisher restores 10 percent of your bar. The revenge strike is the mirror mechanic: it activates when your own Breached state is about to trigger, costs 40 percent of your Sha-Chi, and reverses the enemy's combo into a free punish. Use revenge strike only when you have a full meter and the enemy is about to kill you, because burning it on a 30 percent health fight leaves you dry for the next encounter.
Weapon Switching Mid-Fight
The weapon swap button is your tactical reset, and you can carry two weapons at any time. Switching is fastest during a dodge or Ghostep, so the optimal pattern is to spend your Sha-Chi on a big opener with weapon A, swap to weapon B during the cooldown, and then finish the fight with weapon B's high-damage string. This is how speedrunners clear the early bosses in under 90 seconds, and it's also how you adapt mid-fight when an enemy phases into a form that's weak to blunt damage. The Phantom Blade Zero beginner guide recommends equipping one fast weapon and one heavy weapon for the first chapter, because that pairing covers 90 percent of enemy matchups.
Boss Fight Strategy And Phase Transitions
Bosses in Phantom Blade Zero are designed around two or three phase transitions, and each phase adds a new attack pattern or modifies an existing one. According to community testing across the early access period, the average first attempt on a main story boss lasts 6 to 8 minutes, and the most common cause of death is failing to recognize the phase transition cue. The cue is usually a short cutscene or a change in the boss's posture glow, which is why you should pay attention to the screen flash before you swing.
Reading Boss Patterns
Every boss telegraphs their phase transition with either a visual change (new weapon, new glow color, new posture stance) or a brief dialogue pause. The optimal response is to stop attacking and reposition to mid-range during the transition, because most bosses gain a one-shot grab attack immediately after the transition. Once the new pattern stabilizes, you can resume your parry rhythm, although the new attacks often have different timing windows that require a short adjustment period. Players who try to brute-force through a transition typically die in the next 10 seconds, which is why this Phantom Blade Zero walkthrough recommends treating each transition as a mini-rest.
Aggressive vs Defensive Approaches
The choice between aggressive and defensive playstyle depends on your Sha-Chi management, your remaining healing items, and the boss's current phase. The table below summarizes the recommended approach by phase, based on community data from successful clears.
| Boss Phase | Recommended Style | Sha-Chi Target | Healing Priority |
|---|---|---|---|
| Phase 1 (100–60% HP) | Aggressive | Keep above 50% | Save all healing |
| Phase 2 (60–30% HP) | Balanced | Spend on Ghostep only | Use 1 healing item |
| Phase 3 (30–0% HP) | Defensive | Save for revenge strike | Use remaining items |
Switching from aggressive to defensive at the right moment is the difference between a one-cycle clear and a three-cycle clear, and it depends on whether you have a full meter going into the final phase. If your Sha-Chi is below 50 percent when the boss transitions to phase 3, you should play pure defense and wait for a parry opening, because the boss's new attack string is usually faster than the phase 1 version.
Frequently Asked Questions
What is the best defensive option for new players in Phantom Blade Zero?
Blocking is the safest starting option because it has the longest timing window and costs the least stamina, but you should pair it with occasional dodges against red glow attacks while you build the muscle memory for parrying.
How do I refill my Sha-Chi meter quickly during a fight?
Land successful parries, finish combos with heavy attacks, and avoid taking posture damage, because each clean parry refills roughly 5 percent of the meter while each posture hit drains 10 percent. Healing items also restore a small amount of Sha-Chi, so save them for emergency refills.
Should I focus on parrying or dodging in the early chapters?
Most Phantom Blade Zero walkthrough veterans recommend learning both, but parrying first because the longer punish window teaches you the rhythm of enemy attack strings, which makes dodging against red attacks feel natural once you understand the underlying timing.
What happens when my Breached state triggers without a recovery press?
You enter a long stagger animation that most enemies will combo off of for 60 to 80 percent of your health, so failing the recovery press is effectively a death sentence in boss fights and should be practiced in the training room until the timing is automatic.
Can I switch weapons mid-combo without losing damage?
Yes, the fastest swap window is during a dodge or Ghostep animation, and experienced players chain weapon swaps into their finisher rotations to keep the meter high while rotating between two weapon's damage types. Practice the swap in the training room until you can execute it during a dodge roll without breaking your input rhythm.
If you've internalized the defensive triangle, learned to read color telegraphs, and built the habit of metering your Sha-Chi bar before committing to big plays, the rest of any Phantom Blade Zero walkthrough becomes a matter of execution rather than confusion. The combat system rewards players who treat every encounter as a deliberate exchange, and the more fights you take on with intention, the more cinematic the late-game duels start to feel. What part of the combat system are you still struggling with, and which chapter boss has given you the most trouble so far?