Boss Guide
Complete boss guide for Phantom Blade Zero — strategies for Coppermaul, Red Wraith, Chief Disciple, TieSha, and more with attack patterns and punish windows
Introduction
Phantom Blade Zero's boss encounters are the ultimate test of your combat mastery. Each boss demands precise understanding of color-coded attacks, Ghostep timing, and weapon loadout optimization. From the towering Coppermaul who fights dirty with screen-obscuring dirt clouds, to the optional Red Wraith whose fate determines your final battle, every boss features unique mechanics that go beyond simple attack-and-dodge patterns. The Chief Disciple of the Seven Stars even introduces a heal-sacrifice mechanic unique to this encounter.
Boss Encounter Reference
| Boss | Location | Key Mechanic | Recommended Weapon | Optional? |
|---|---|---|---|---|
| Coppermaul (Wan Jun) | Early game | Dirt cloud obscures screen | Jagged Edge / Sanguine | No |
| Red Wraith | Rooftop | Skip affects final fight | Sanguine / Bow | Yes |
| Chief Disciple | Seven Stars Temple | Heal-sacrifice mechanic, 7-enemy formation | Soft Snake Sword / Flaming Mane | No |
| TieSha the Frenzy | Early demo area | Revealed in gameplay demos | Fast blade recommended | No |
| Huangxing the Sunken | IGN exclusive area | Tense environmental fight | Flexible loadout | No |
| Commander Cleave | Late game | Duo boss encounter | Versatile primary + ranged Edge | No |
Boss Roster
Coppermaul (Wan Jun)
Warhammer bruiser who fights dirty
Red Wraith
Optional rooftop encounter — fate changes everything
Chief Disciple of the Seven Stars
7-enemy formation with sacrifice mechanic
TieSha the Frenzy
Fast aggressive boss — revealed in gameplay demos
Huangxing the Sunken
Tense environmental encounter — IGN exclusive
Commander Cleave
Duo boss encounter — late game challenge
Core Mechanics
Boss encounters in Phantom Blade Zero feature multi-phase fights with distinct attack pattern changes. The second phase often introduces new mechanics — the Chief Disciple transforms into Fallen Hope with devastating line-curtain attacks. Some bosses like Coppermaul fight dirty, using environmental tricks like throwing dirt to obscure your vision. The boss rematch system allows you to repeat encounters in second-phase respawn points, providing practice opportunities. On Hellwalker difficulty, boss AI dynamically adapts to player behavior, making each encounter feel like fighting a skilled human opponent.
Advantages
Each boss in Phantom Blade Zero has distinct visual language and color-coded attacks that make their patterns learnable and fair. The Ghostep counter provides a consistent punish window after every successful parry or dodge. The boss rematch system lets you practice without replaying the entire level. Boss-dropped Phantom Edges serve as meaningful rewards that directly reference the encounter you mastered.
Challenges
Some bosses like Red Wraith are optional but have significant consequences for skipping — killing or sparing directly changes the final fight from 1v1 to 2v1. The Chief Disciple's 7-enemy formation fight can be overwhelming without crowd-control Phantom Edges. Hellwalker difficulty transforms boss AI into fighting-game-level opponents with frame-tight punish windows. Duo boss encounters like Commander Cleave require managing two attack patterns simultaneously.
Frequently Asked Questions
Should I kill or spare the Red Wraith?+
How do I beat the Chief Disciple formation?+
Can I skip bosses?+
Quick Tips
Learn each boss's color-coded attack patterns before attempting aggressive play. Spend your first few attempts purely on defensive reading — identify which attacks are brutal (parry) vs killer (dodge). Once you can consistently survive, start incorporating Ghostep counters for maximum damage.
Bring the right Phantom Edge for each boss. Flaming Mane for formation fights, Bashpole for stagger-heavy single targets, and Bow for pulling individuals from groups. Match your secondary weapon to the encounter type for maximum tactical advantage.
In Hellwalker difficulty, boss AI adapts to your patterns — if you always dodge left, the boss will start tracking left. Vary your defensive timing and direction to keep the AI from exploiting your habits. Treat Hellwalker bosses like fighting game opponents who read your inputs.
Featured
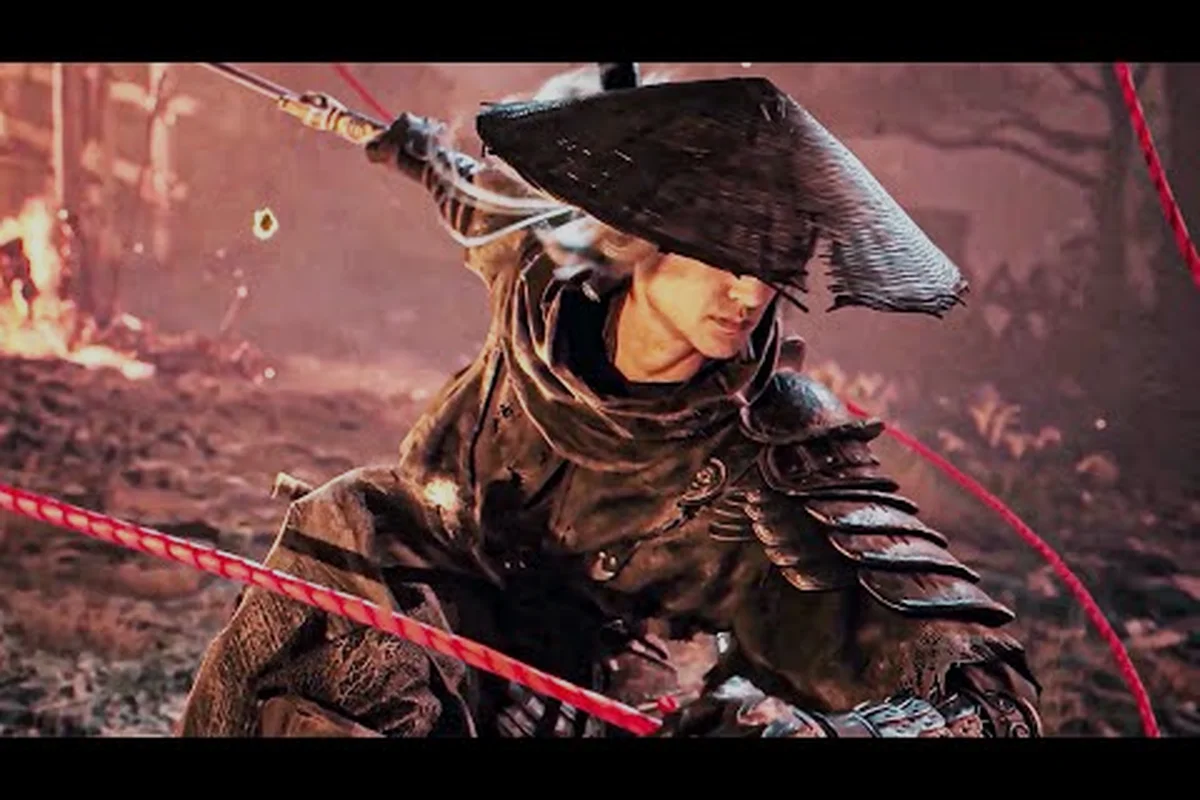
Phantom Blade Zero Coppermaul Boss Fight Complete Guide
Master the Phantom Blade Zero Coppermaul boss fight with this complete strategy guide covering attack patterns, warhammer mechanics, parry timing, and phase transitions.
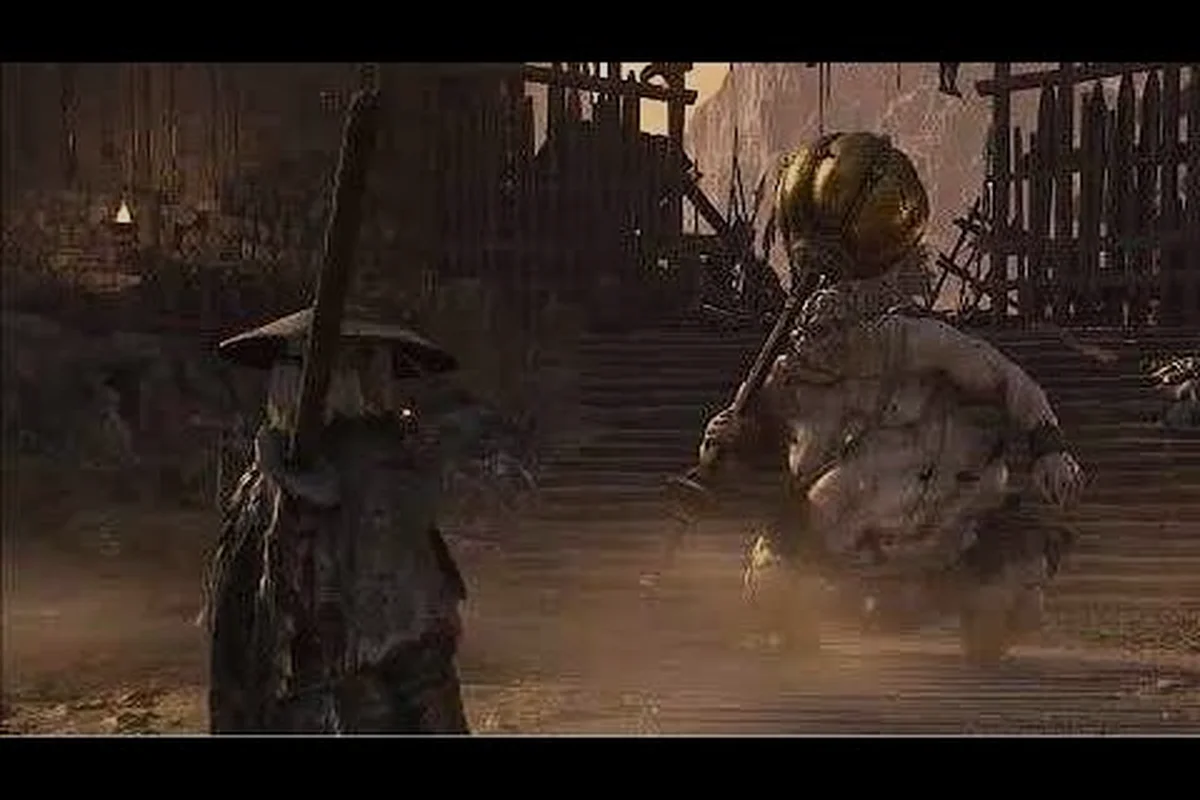
Phantom Blade Zero Chief Disciple of Seven Stars Boss Guide
Master the Phantom Blade Zero Chief Disciple of Seven Stars boss fight with attack patterns, parry windows, build loadouts, and proven combat strategies.
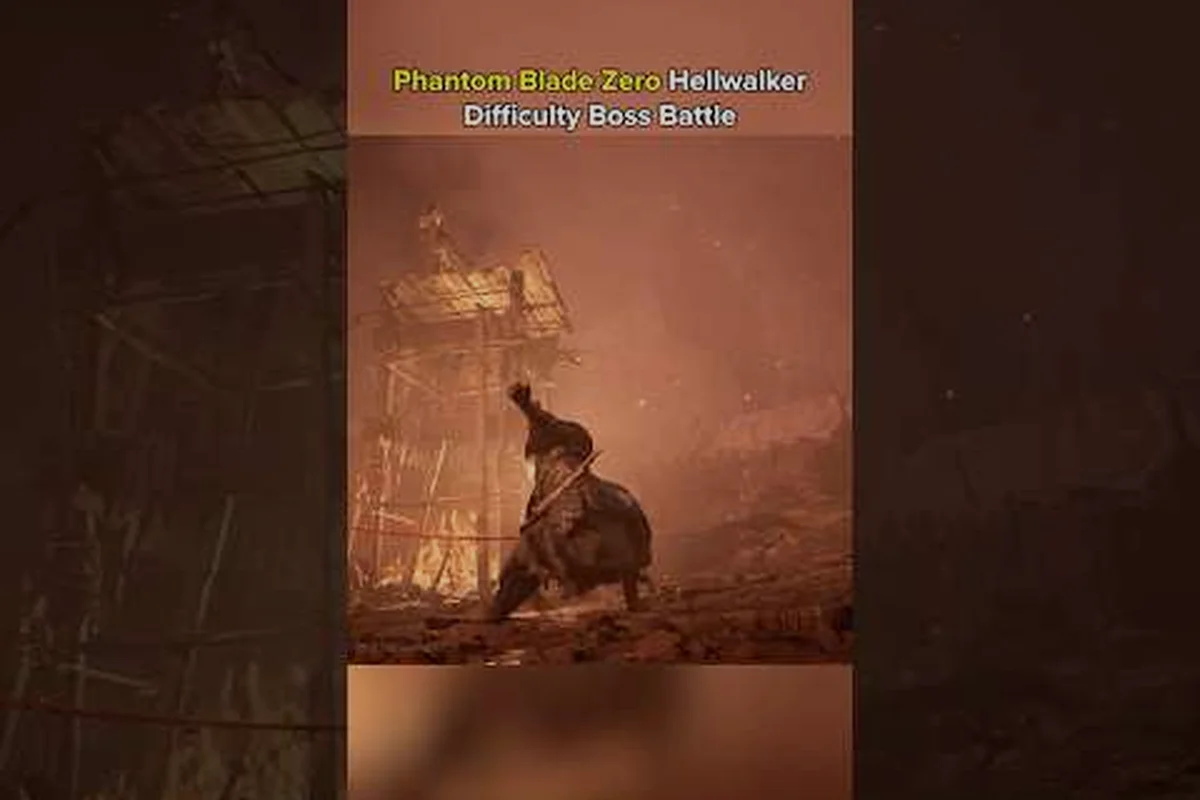
Phantom Blade Zero Red Wraith Boss Fight Guide and Tips
Master the Phantom Blade Zero Red Wraith boss fight with this strategy guide. Learn attack patterns, parry windows, and the optional rooftop encounter's lore impact.
All Articles
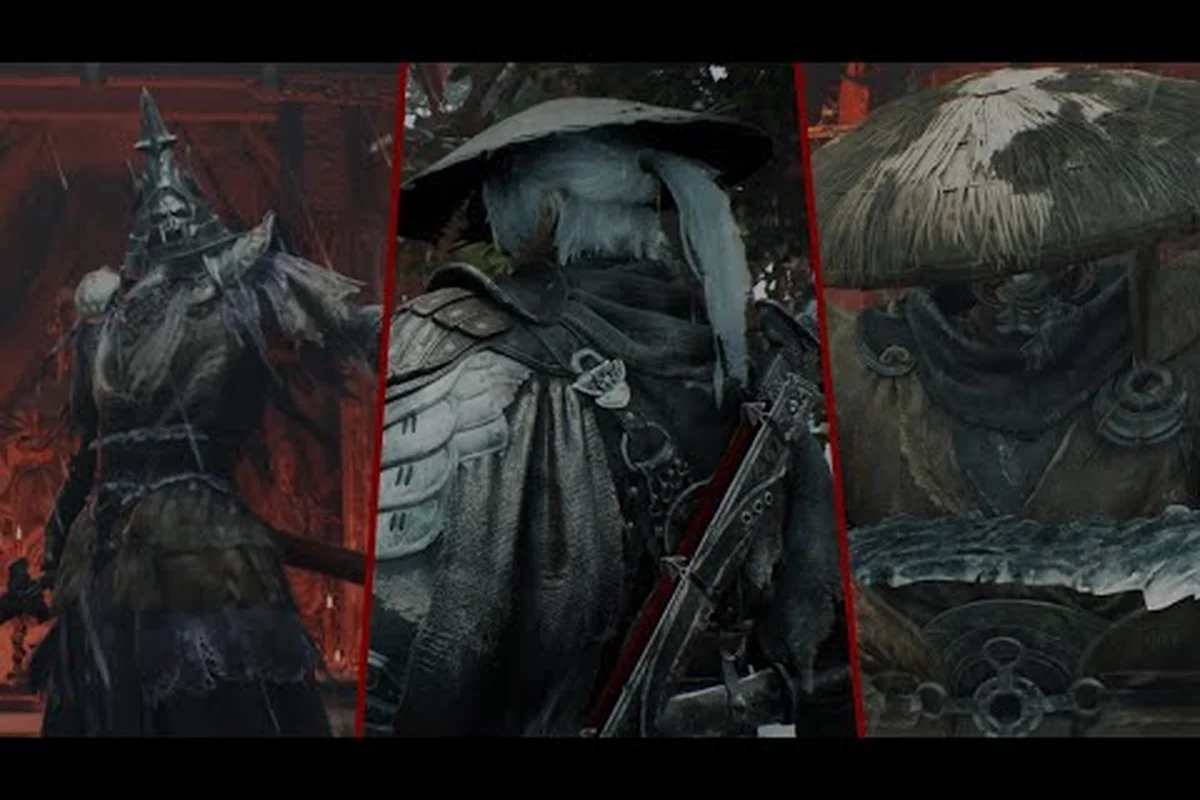
Phantom Blade Zero All Bosses List — Every Fight
Complete Phantom Blade Zero all bosses list covering every mandatory and optional encounter, boss weaknesses, attack patterns, rewards, and where each fight triggers in the game.
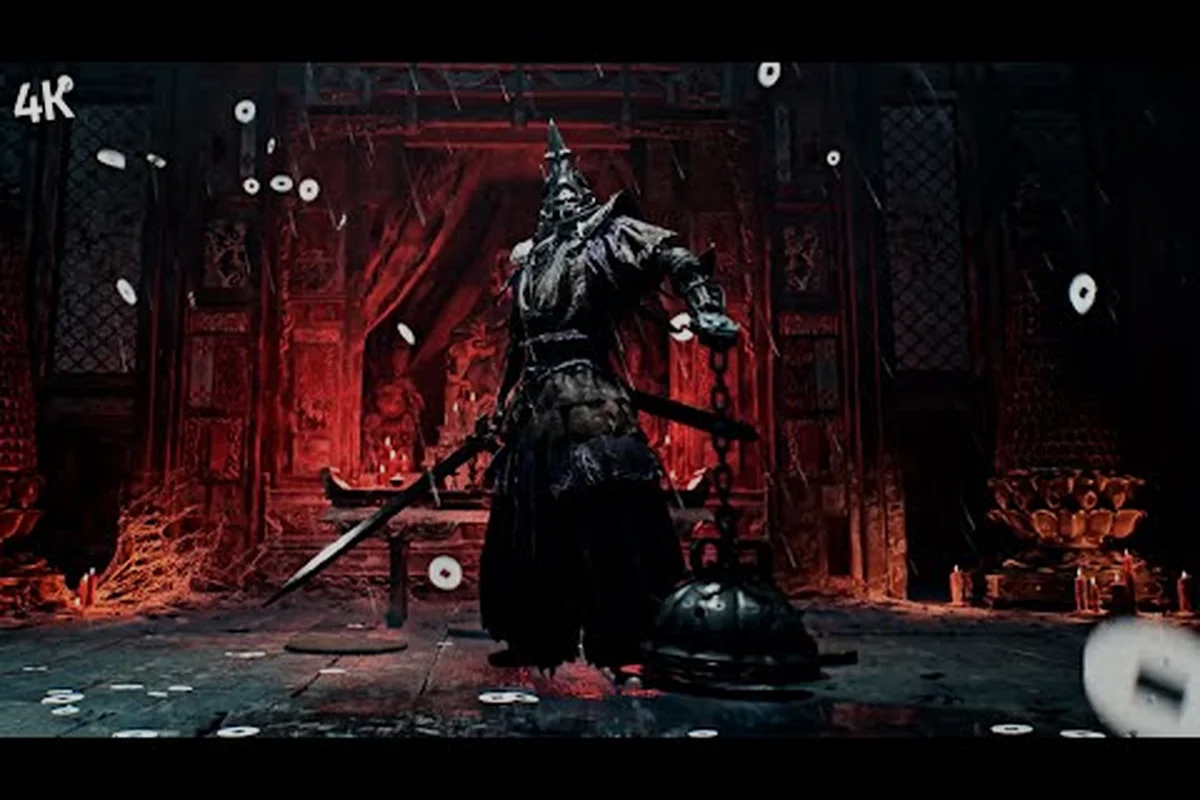
Phantom Blade Zero Boss Guide: How To Beat Every Fight
Complete Phantom Blade Zero boss guide covering every major fight, mechanics, attack patterns, and strategies to defeat Wan Jun Coppermaul, Red Wraith, and more.

Phantom Blade Zero Wan Jun Coppermaul Boss Fight Guide
Learn the complete Phantom Blade Zero Wan Jun Coppermaul strategy with phase breakdowns, attack telegraphs, parry timing tables, and the Bashpole reward.
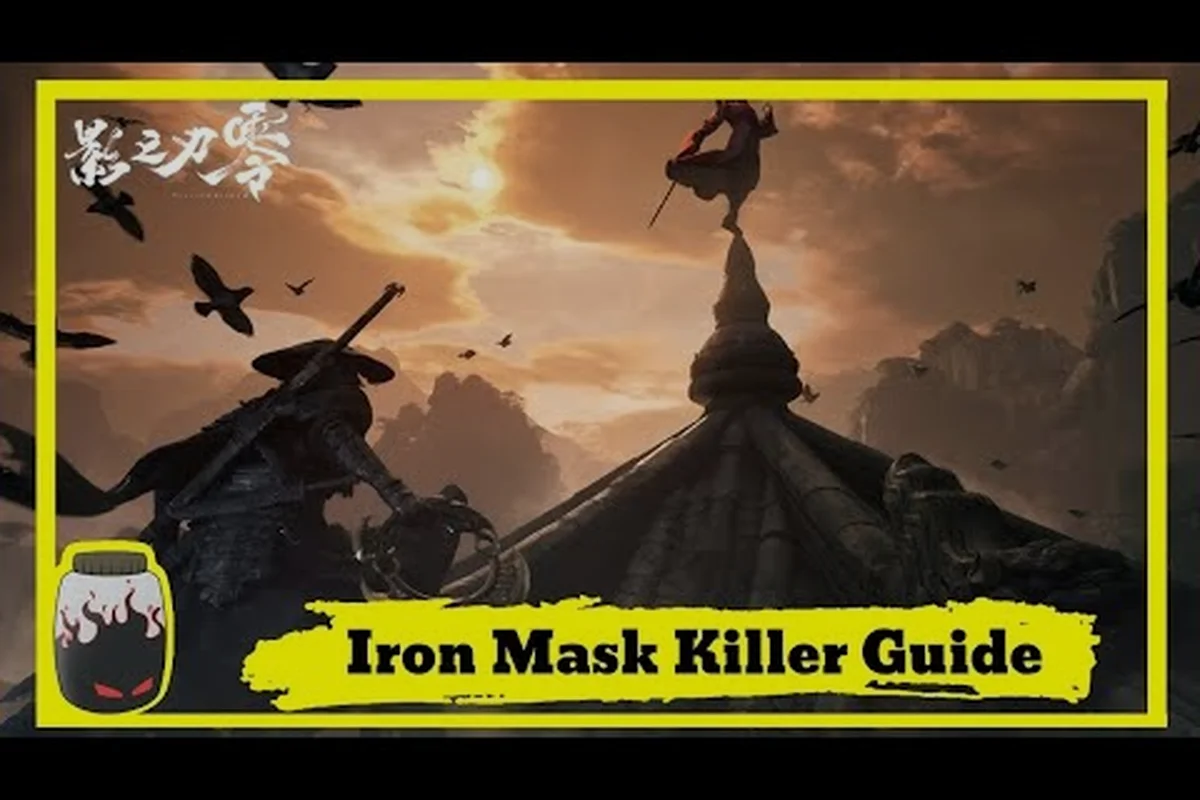
Phantom Blade Zero TieSha the Frenzy Boss Fight Guide
Master the Phantom Blade Zero TieSha the Frenzy boss fight with attack pattern breakdowns, parry windows, Sha-Chi tips, and proven solo strategies.