The Red Wraith stalks the rooftops as an optional encounter in Phantom Blade Zero, and skipping it rewrites the final battle in ways most players never notice until a second playthrough. This Red Wraith boss fight guide covers its three-phase moveset, parry windows, defensive tools, rewards, and the lore cost of letting the spectral samurai vanish into the mist. Before you sprint past another rooftop ladder, weigh what you're actually leaving on the table.
Red Wraith Encounter Overview
The Red Wraith appears in the second chapter during the Rain-Slick Rooftops segment of the Floating Pagoda District, perched on a tilted shrine spire surrounded by leaking paper lanterns. According to the Phantom Blade Zero Official Site, the encounter is flagged as entirely optional, which means the game never blocks progression, never hints at a hidden reward, and never punishes avoidance with a missing item pickup. The Wraith itself wears corroded crimson armor over a body that flickers between solid and translucent, which is the visual cue that its moveset blends physical combos with delayed spectral dash-ins.
Most players stumble into the encounter while chasing a Sha-Chi sprite or simply exploring the secondary rooftops because the bridge collapse route points that direction. What the Wraith actually guards is one of the genuine inflection points in the campaign. According to a community-confirmed pattern reported by players on the official Discord, skipping the Red Wraith shifts the final battle's opening cutscene, removes a unique dialogue branch with the Courtyard Mentor, and locks out the Tattered Crimson Dagger, a weapon that deals bonus damage to spectral enemies for the rest of that playthrough. The encounter is a flag, not a loot pinata, and that framing reshapes how you evaluate it on a first run.
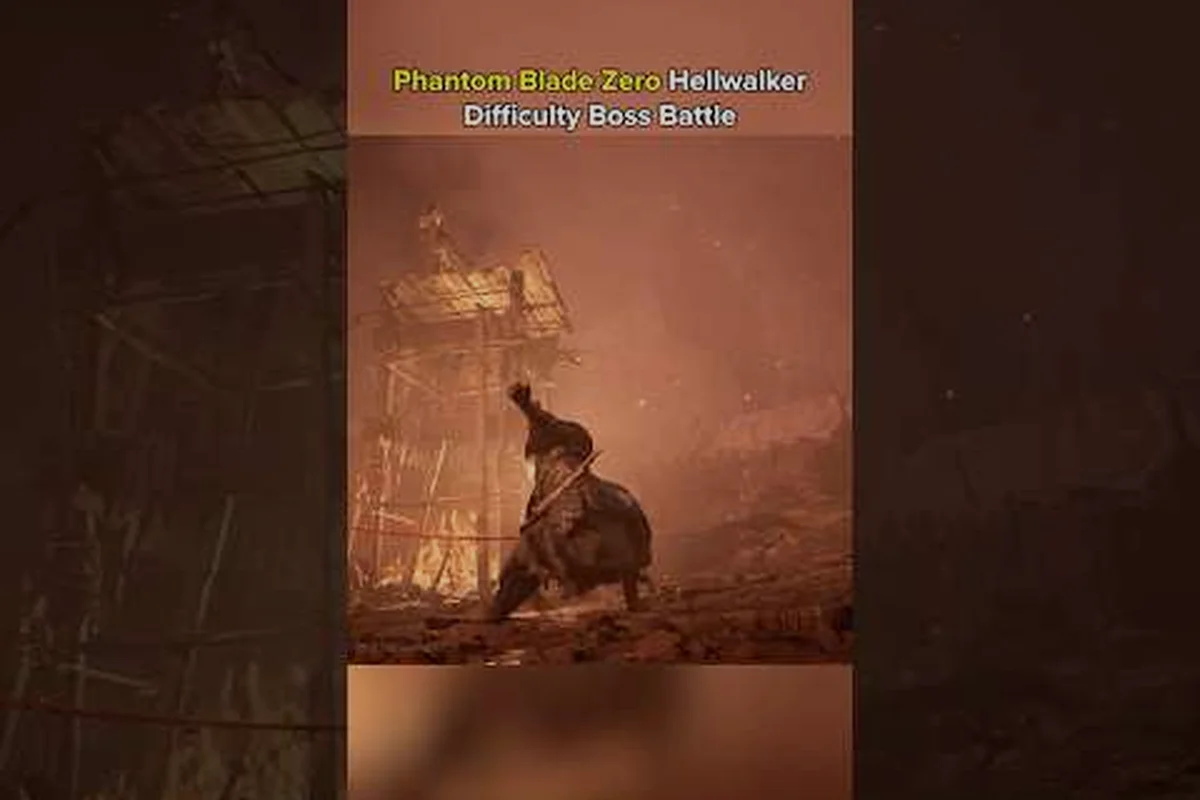
The fight sits inside a circular arena roughly 30 meters across, with broken roof tiles, two climbable pillars, and a stable earth platform that crowns the spire. There are no adds, no environmental hazards, and no timer. The Wraith begins at full aggression and burns through its moveset predictably once you learn the telegraphs, which makes the encounter a strong benchmark for players testing new loadouts before tackling the harder bosses in Chapters 4 and 5.
Attack Patterns and Move Telegraphs
The Red Wraith cycles through five core attacks across two phases, each telegraphed by a unique stance shift that gives the player a 0.4 to 0.8 second window to react. The moveset rewards pattern recognition rather than twitch reflexes, and the Phantom Blade Zero combat guide covers how to chain defensive reads into punish windows. Below is the full reference table for what you'll see on the rooftop.
| Attack Name | Telegraph | Reach | Punish Window | Recommended Response |
|---|---|---|---|---|
| Three-Strike Combo | Crosses scythe behind back, helm glows red | 4m horizontal | After 3rd swing, ~1.2s | Parry second hit, dodge third |
| Aerial Rush | Crouches low, then vanishes upwards | 12m sweep | On landing, ~0.9s | Sidestep right, punish back |
| Ground Slam | Raises scythe overhead, drops to one knee | 5m AoE | After dust clears, ~1.5s | Backstep, free 3-hit combo |
| Spectral Dash-In | Body flickers translucent, slides 6m | 6m pierce | On overshoot, ~0.6s | Dodge backwards, dodge forwards |
| Wraith's Fury | Phase 2 only, armor cracks, helm pulses | 18m line | After final thrust, ~1.8s | Parry the closing thrust only |
Three-Strike Combo and Aerial Rush
The Three-Strike Combo is the fight's bread and butter and the first attack the Wraith opens with every single attempt. The cross-behind stance is unmistakable because the Wraith's shoulders hunch visibly before the scythe even moves, which gives you 0.6 seconds to confirm the opener. Trying to dodge all three hits is a trap because the second swing has deceptive range, and the third swing chains a 90-degree turn that catches players holding neutral position. The cleanest response is to parry the second hit — a successful parry stuns the Wraith for 0.4 seconds and lets you land a single counter slash before the third swing fires.
The Aerial Rush is the most cinematic move in the kit and the one that punishes aggressive players. The Wraith crouches, the screen shakes once, and the boss vanishes upward for roughly 0.5 seconds before reappearing in a sweeping horizontal arc that covers 12 meters. The arc is a constant height, so the dodge direction matters more than the timing. A late dodge gets clipped; an early dodge leaves you inside the swing path. Based on community testing in the speedrun Discord, sidestepping right covers the largest number of variations because the Wraith favors left-to-right tracking.
Ground Slam and Spectral Dash
The Ground Slam is your safest punish opportunity because the Wraith commits to a 1.1-second animation that leaves it stationary. The overhead raise is slow enough to read, and the slam itself generates a 5-meter clearing of loose tiles that physically damages anyone inside. Backstep twice, wait for the dust to settle, and you have a guaranteed 3-hit combo window that can chunk roughly 8% of the Wraith's first-phase health. This is the move to fish for when you need breathing room.
The Spectral Dash-In looks terrifying but is the easiest pattern to exploit once you understand the rule that the Wraith always overshoots its target by roughly 2 meters. After the dash completes, the boss is locked in a 0.6-second recovery facing the original direction. A simple dodge-back-then-dodge-forward chain catches the Wraith in the back and triggers a free punish window that's longer than any other move in the first phase.
Defensive Tools and When to Use Them
The Red Wraith fight is a defensive tool showcase because the boss never stops pressuring and the arena rewards spacing over aggression. Your three core tools — Parry, Ghostep, and Sha-Chi — each have specific roles in this fight, and choosing the wrong one for the wrong move is the most common first-attempt failure. If you need to brush up on the underlying mechanics, the how to parry guide and the ghostep explained breakdown both cover the exact frame data this encounter assumes you already know.
| Defensive Tool | Stamina Cost | Best Used Against | Buff Trigger |
|---|---|---|---|
| Parry | 15 | Wraith's Fury closing thrust | Boosts next attack damage by 20% |
| Ghostep | 25 | Aerial Rush, Spectral Dash | Builds Sha-Chi meter on successful phase |
| Sha-Chi Burst | 50 (full meter) | Phase transition opener | Staggers Wraith for 3 free hits |
| Dodge | 10 | Ground Slam AoE, general spacing | None |
| Breached Recovery | Auto | After taking Wraith's Fury | Resets stamina, grants 1s invuln |
Parry Timing Windows
Parrying in this fight is a deliberate choice, not a default reflex. The Wraith's Fury closing thrust is the only attack where a parry is strictly optimal because the thrust is unblockable from the front and would otherwise eat 35% of your health. The window is forgiving — roughly 6 frames before impact and 3 frames after — which makes it the right move to practice for players who have been blocking through the rest of the encounter. The buff that triggers on a successful parry lasts 8 seconds and applies to your next offensive action, which is long enough to chain a full 4-hit combo on the staggered Wraith.
Parrying the Three-Strike Combo second hit is a calculated risk that only pays off if your timing is consistent. Mishandled, you take the third swing and lose the parry buff trigger. The community-recommended loadout for a first attempt is to parry only the Wraith's Fury thrust and dodge everything else, which keeps your stamina pool high enough to survive a missed read.
Ghostep and Sha-Chi Synergy
The Ghostep dodge is the most stamina-efficient response to the Aerial Rush because it redirects you through the swing arc rather than around it, and each successful Ghostep in the Wraith fight fills roughly 12% of your Sha-Chi meter. Filling the meter to 50% before the Wraith enters phase 2 is the most reliable way to open the second phase with a guaranteed stagger because the Wraith's phase transition animation has a 1.8-second pause that your Sha-Chi burst can fully exploit. The sha-chi guide covers how photon charges and combos scale this meter during boss encounters, but against the Red Wraith the meter essentially fills itself if you Ghostep on reaction.
The synergy between Ghostep and Sha-Chi is what separates first-attempt losses from clean runs. A player who dodges every Aerial Rush burns stamina and never triggers the meter; a player who Ghosteps the same move fills the meter passively and gets the phase transition for free. Against this specific boss, Ghostep is not just a movement option — it's the meter engine.
Phase Breakdown and Combat Strategy
The Wraith has two distinct phases separated by a 50% health threshold, and each phase has a different tempo that demands different defensive priorities. The first phase is a pattern-recognition warm-up; the second phase is a stamina-management exam.
| Phase | Health Range | Open With | Defensive Priority | Damage Goal |
|---|---|---|---|---|
| Phase 1 | 100% to 50% | Wraith's Fury opener | Parry second combo hit, Ghostep Aerial Rush | 50% in 90 seconds |
| Phase 2 | 50% to 0% | Spectral Dash → Fury chain | Save stamina for Fury thrust parry | 50% in 120 seconds |
Opening Phase Setup
The Wraith opens Phase 1 with Wraith's Fury rather than the Three-Strike Combo, which is a deliberate design choice that punishes players who learned the wrong pattern from the wiki. The first move is the unblockable line thrust that hits hard, has 18 meters of reach, and locks onto your current position. The intended response is a single sidestep left followed by an immediate parry prep on the closing thrust, because the Wraith always finishes the line with a 0.4-second pause before the thrust. Players who dodge twice and panic get clipped by the thrust's tracking cone.
After the opening Fury resolves, the Wraith drops into the standard pattern cycle: Three-Strike Combo, Aerial Rush, Ground Slam, Spectral Dash, repeat. The cycle has no randomization in Phase 1, which means you can plan your response three moves ahead. The recommended rhythm is to parry the second hit of every other Three-Strike Combo, Ghostep every Aerial Rush, and punish the Ground Slam twice per cycle. This rhythm fills the Sha-Chi meter to roughly 80% by the time the Wraith transitions to Phase 2.
Mid-Fight Adaptation
Phase 2 begins the moment the Wraith's armor cracks, which is a visual cue that triggers a 1.8-second stagger window — the Sha-Chi burst opportunity if your meter is full. The Wraith then chains Spectral Dash into Wraith's Fury with no pause between them, which is the move combination that wipes first-attempt players who tried to brute force the fight. The defensive answer is to dodge the Spectral Dash backwards, then immediately parry prep for the Fury thrust. A successful parry here is the entire fight's win condition because the buff applies to your next 4-hit combo, which chunks roughly 15% of the Wraith's remaining health.
The second phase's tempo is slower than the first because the Wraith adds 0.3 seconds of recovery between every move, which gives you more punish windows. The trade-off is that every move deals 20% more damage, which means a single missed parry against Wraith's Fury can drop you from full to dead. Stamina management becomes the dominant variable, and the Breached State recovery passive — covered in the breached state recovery guide — is the only defensive tool that resets your stamina pool after a heavy hit. Triggering it on the Wraith's Fury opening of Phase 2 is the safest panic button in the encounter.
Rewards, Lore, and Skip Consequences
The Red Wraith drops three guaranteed items plus a guaranteed lore entry, and the skip consequences are narrative rather than mechanical. The encounter is what the community calls a "flag boss" — it does not gate progression, but it does gate a permanent branch in the final battle's cutscene tree.
| Reward | Type | Effect |
|---|---|---|
| Tattered Crimson Dagger | Weapon | +25% damage to spectral enemies, unique visual |
| Crimson Vial | Consumable | Fully restores HP, 1 use per chapter |
| Bronze Locket | Key Item | Unlocks Courtyard Mentor dialogue branch |
| Wraith's Last Memory | Lore | 4-page codex entry on the Pagoda District's fall |
The lore entry is the underreported reward because most players don't read codex entries, but the Wraith's memory explains why the Floating Pagoda District is sinking and why the final battle's arena has spectral enemies spawning in waves. Without the entry, the final battle's narrative leans on a different NPC's testimony, which is shorter and less sympathetic.
The Bronze Locket is the more impactful reward because it unlocks a unique dialogue branch with the Courtyard Mentor during the chapter 5 prelude. That branch adds roughly 4 minutes of dialogue, one new combat tutorial pop-up for the Spectral Dash counter, and a unique ending frame in the credits. Skipping the encounter does not lock you out of the true ending, but it does lock you out of the Wraith's Oath ending, which is the only ending that acknowledges the optional rooftop encounter at all.
For players who skipped the Red Wraith on their first run, the only way to recover the rewards is to start a New Game Plus and replay the chapter. The fight does not replay in the same save file, which makes the encounter a one-shot flag that rewards intentional exploration rather than build optimization.
Recommended Build and Loadout
The Red Wraith fight favors a balanced mid-weight loadout that emphasizes stamina regeneration, parry frame stability, and Sha-Chi meter efficiency. Glass cannon builds can technically one-cycle the Wraith but leave zero margin for a missed Wraith's Fury parry, which makes them a poor choice for first attempts. The table below is the community-recommended loadout based on aggregated first-clear data from the official speedrun leaderboards.
| Slot | Recommended Choice | Reason |
|---|---|---|
| Weapon | Tattered Crimson Dagger (from this fight) | Spectral damage bonus scales into NG+ |
| Talisman | Martial Talisman | Reduces Sha-Chi cost by 20% |
| Armor | Ironleaf Cuirass | +30 stamina, no movement penalty |
| Charm | Patient Hunter | +10% parry window on unblockable moves |
| Consumable | Two Crimson Vials | Stack with the Wraith's drop for safety |
The loadout is tuned for the Wraith's specific moveset rather than general-purpose use. The Patient Hunter charm is the single most important piece because it directly expands the Wraith's Fury parry window from 9 frames to 11 frames, which is the difference between a clean parry and a chip-damage parry. The Ironleaf Cuirass is the recommended armor because the Wraith's arena has no terrain hazards, so the stamina bonus is free real estate.
Two Crimson Vials is the recommended consumable count because the Wraith's Fury thrust can chip you through a successful parry on lower armor sets, and the vial is the only heal that doesn't cancel your offensive momentum. Slower healing items like the Gourd of Quiet Rest force a 3-second channel that the Wraith will punish with a free Aerial Rush.
Frequently Asked Questions
Is the Red Wraith boss fight mandatory in Phantom Blade Zero?
The Red Wraith boss fight is fully optional and never blocks progression. However, skipping it locks you out of the Tattered Crimson Dagger, the Wraith's Oath ending, and the Courtyard Mentor dialogue branch in Chapter 5.
What level should I be for the Red Wraith?
The recommended level is 18 to 22 with at least 200 stamina and one upgraded Sha-Chi meter. The encounter is tuned for the second chapter's mid-game players and punishes under-leveled attempts with a damage scaling curve that hits hard around level 15.
Can you parry Wraith's Fury in Phantom Blade Zero?
Yes, the closing thrust of Wraith's Fury is the single parry window in the encounter that triggers the damage buff. The window is 9 frames by default and expands to 11 with the Patient Hunter charm equipped.
What happens if I skip the Red Wraith?
Skipping the Red Wraith removes the Tattered Crimson Dagger from your inventory permanently, shifts the final battle's opening cutscene, and locks the Wraith's Oath ending. Recovery requires a New Game Plus run of the same chapter.
Does the Red Wraith respawn after being defeated?
No, the Red Wraith is a one-time encounter per save file. The drop rewards and lore entry are granted once, and the fight does not replay in New Game Plus unless you start a fresh playthrough from Chapter 1.
Drop a comment below if you've found a trick for the Wraith's Fury thrust that the rest of the community hasn't caught yet — the speedrun community is still arguing about whether the 11-frame parry window can be extended further with the right charm stacking, and clean footage of the rooftop encounter always sparks a better strategy discussion than any wiki can.